I have had a really busy day. I went to JoAnn Fabrics, and spent far more than I intended to. (It's those damn remnants. I just can't resist!) Then I walked home with my bag of goodies and proceeded to sew things. I worked on a bag for myself - it's navy, red and awesome - and a houndstooth pattern quilted thing that I was going to use for a clutch, but the pattern is larger than I envisioned so I think I'll have to try again, and in between all of this I worked on my screen printing designs.
They are both fandom designs (and both spaceships... hm). One of the Enterprise which says, 'Boldly Go', and the other is of the TARDIS and one of my favorite Eleven lines, 'Come along, Pond.' And they both turned out so well!
My 'screen printing' method is more of a fancy stencil, but it's going to last longer. This is how I did it:
You'll need:
- small embroidery hoop (get the cheapest ones you can find)
- sheer fabric (but woven tightly enough that it will hold the Mod Podge. I got 'bridal organza' out of the remnant bin, and it worked perfectly for my fine detailed designs)
- Mod Podge
- tiny paintbrushes (your choice)
- your black and white design printed to a size that fits well within your hoop
- a fine point Sharpie
- tape
- light body acrylic fabric paint (I think it's actually used for air brushing)
- a stiff bristled brush
Fit the sheer fabric in the embroidery hoop, cut off excess, but leave about an inch all the way around. Tighten.
Put rolls of tape near top and bottom of your design, and press the hoop face side down onto the paper. The tape is just there to hold it in place while you draw.
Trace your design with the Sharpie. I like to stay inside the lines, that way I know exactly how far my Mod Podge should go. Be patient and do this part right. It will make the painting easier.
Remove paper design and tape from hoop. Mod Podge all the areas of your design that you don't want to be screen printed. This is where fine tip paint brushes come in handy. I found it helped to hold my hoop towards a light. That way I could see the little holes I'd missed filling in, and it was easier to discern the edges.
Allow to dry. You may need a second coat if you missed lots of holes the first time.
Choose your screen print color, and with your stiff bristled brush get some paint on your brush and tap off excess paint on your palette. Apply brush in firm, short strokes to the bare areas of your design. Do not use too much paint - it will seep. When you feel the design is covered to your satisfaction (look at it from several directions in the light to see spots you missed (unless you're going for the weathered look, then just ignore me). Carefully lift up the hoop. Start with one side and keep lifting in that direction. If you aren't careful your design will smudge.
And that's it!
I started with the Enterprise. I didn't have Mod Podge then, so I was using acrylic gel medium with some yellow paint mixed in so I could see where I'd painted already. It worked, though I had to use two coats. I was able to find Mod Podge at the grocery store (miracle!), and used it for the TARDIS. The Mod Podge just worked better. I only had to do one coat.
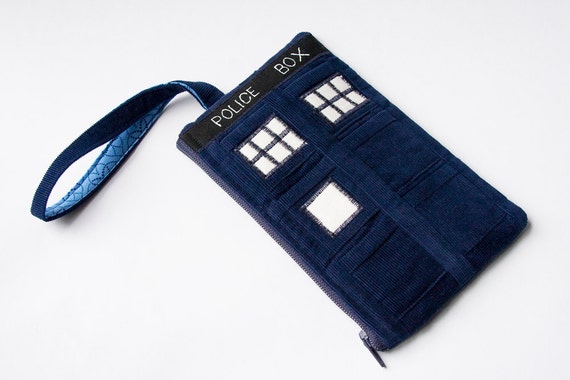
I'm going to use both of these designs to make little wristlets to start with. (I love my TARDIS wristlet. I've been taking it everywhere, and everything I need fits inside it - so I want more wristlets.) I'll likely use my screen print designs on other things later. I'm really pleased with how they turned out! I will definitely be making more of them in the future.
(Note: I have no idea why the photograph looks like that. I must have done something weird while I was editing it.)